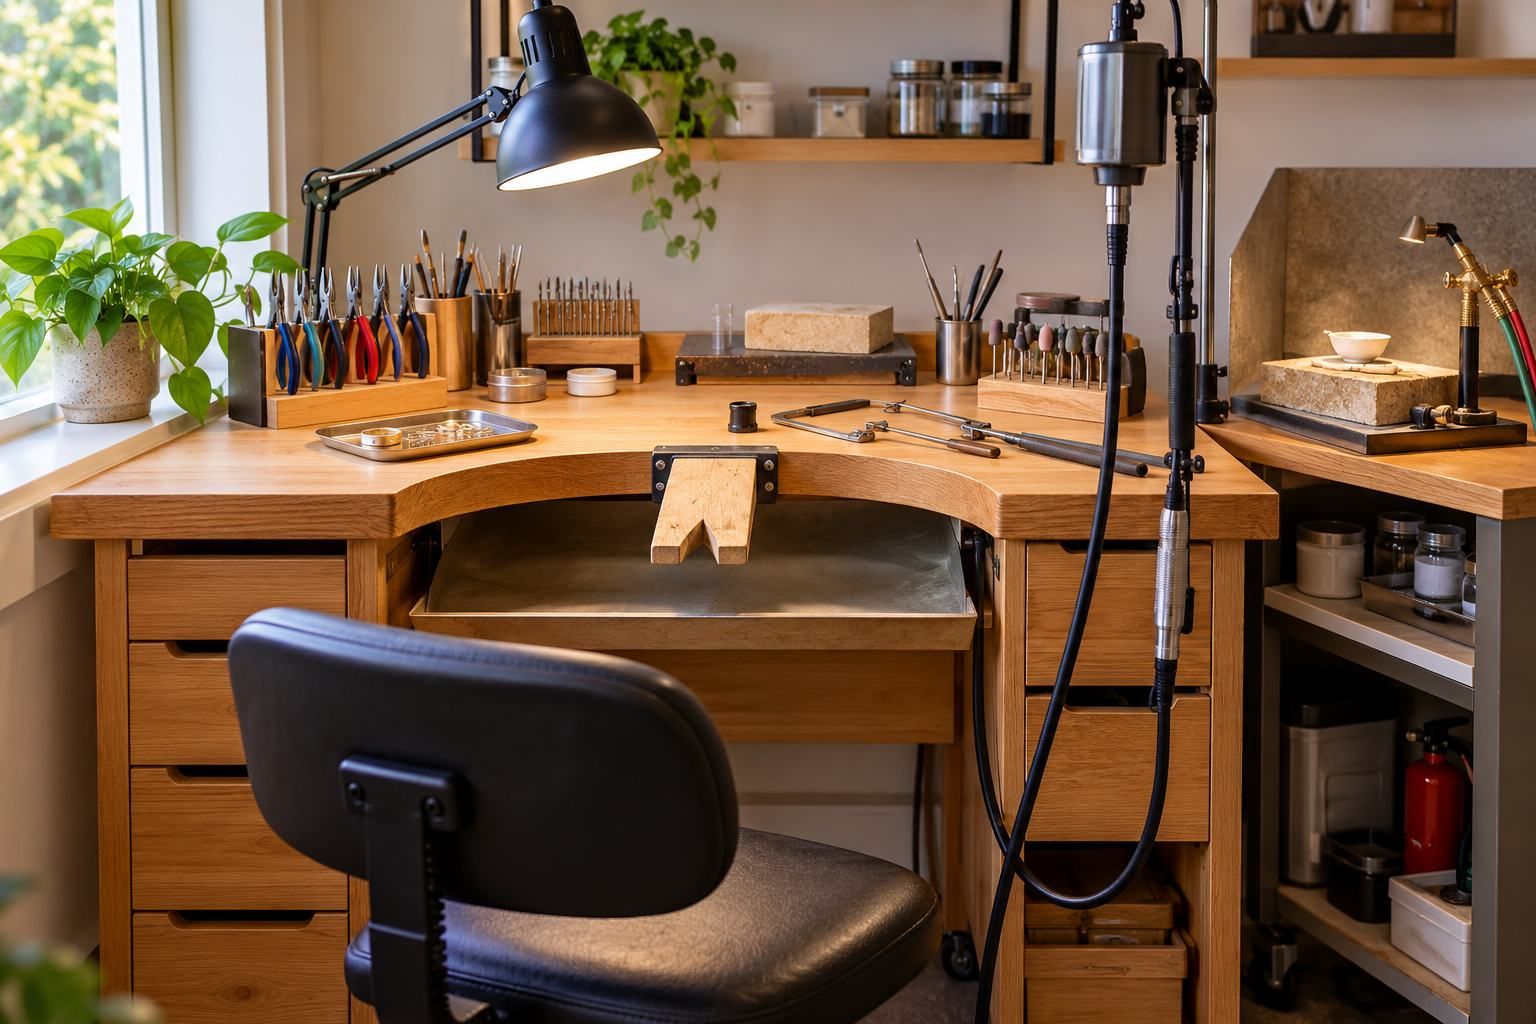
How-to · Bench
How to Set Up a Jewelry Bench at Home: Complete Guide
Set up a jewelry bench at home with the right bench height, bench pin position, lighting, seating, tool layout, metal recovery, soldering zone and safety.
Bench SetupExplainer
Build a first jewelry making toolkit by task. Learn which bench, cutting, forming, soldering, measuring and finishing tools to buy first, and what can wait.
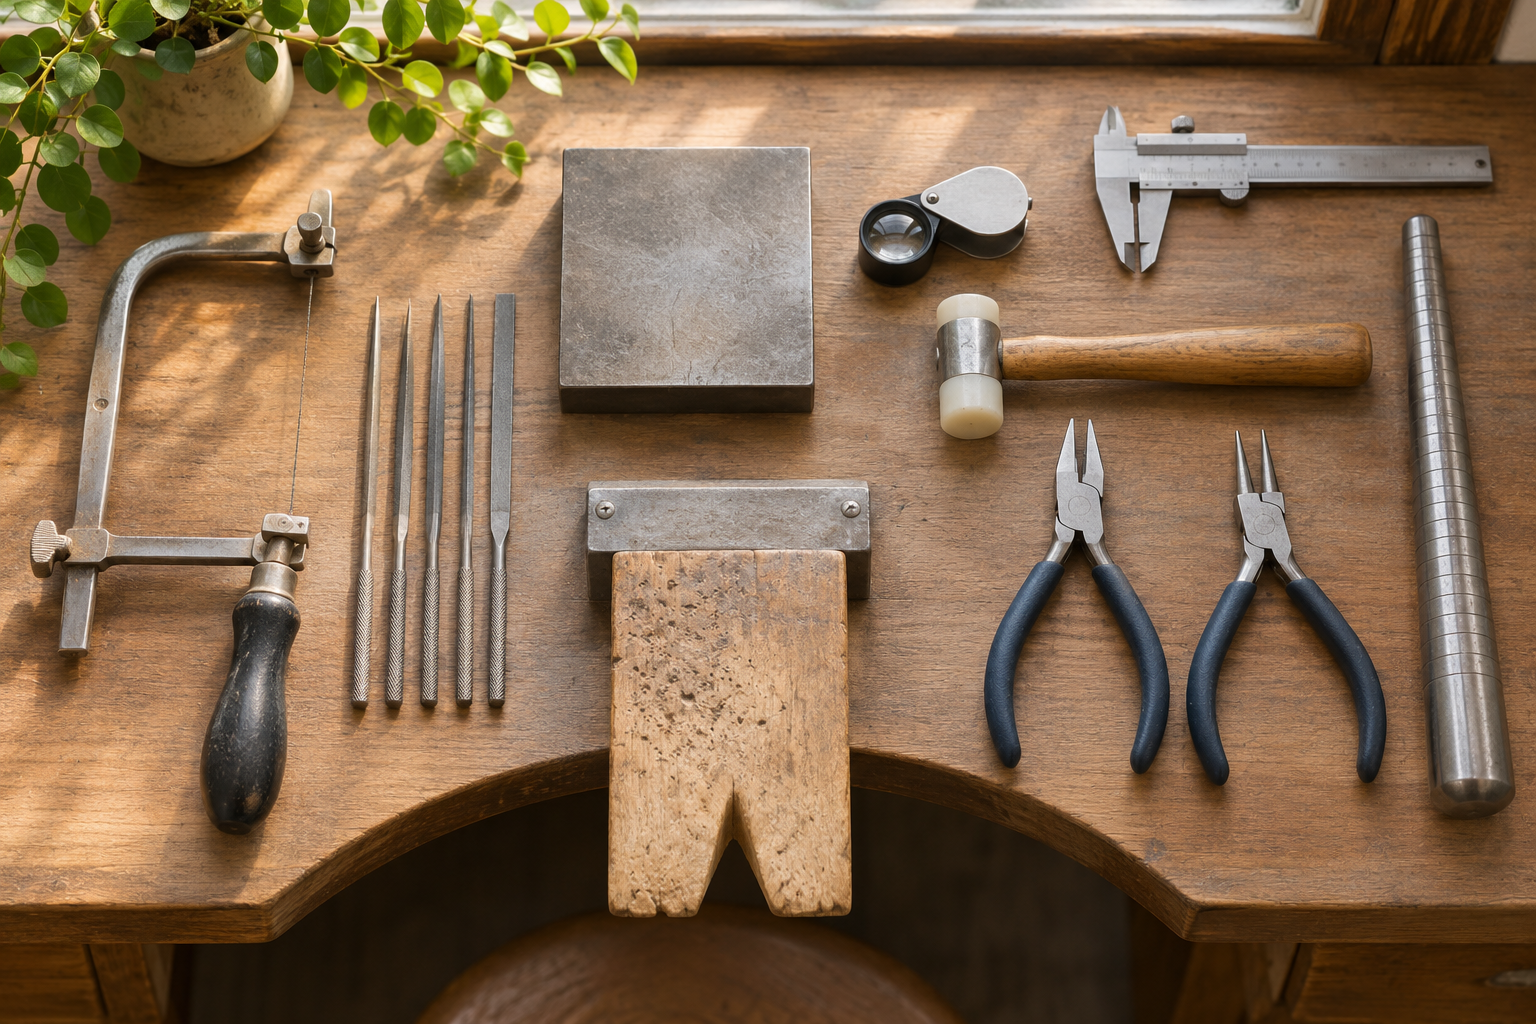
Your first jewelry making tools should match the project you plan to make, not the size of a ready-made kit. A simple sawn pendant needs a secure place to work, cutting and smoothing tools, and a way to measure. A wire-formed ring adds pliers and a mandrel. Soldering adds an entire heat-safe station.
Quick answer
For basic sheet-metal practice, begin with a stable work surface, a securely mounted bench pin, a jeweler’s saw and spare blades, a flat or half-round file, abrasive paper and eye protection. Add chain-nose and round-nose pliers, a suitable cutter, a small hammer and a bench block as your projects demand them. Leave powered polishing and large forming machines until hand work shows what you need more often.
| Task | Start with | Add later when |
|---|---|---|
| Support small work | Stable bench edge, bench pin and clamp | A dedicated bench makes sense once you work regularly or need a catch tray |
| Cut sheet | Jeweler's saw frame and spare blades | Specialized shears or powered cutting fit repeated, specific cuts |
| Smooth edges | Flat or half-round file and abrasive paper | More file shapes solve a shape you cannot reach |
| Shape wire | Chain-nose and round-nose pliers plus a wire-rated cutter | Parallel-jaw or forming pliers suit repeated bends |
| Form and flatten | Ring mandrel, nonmarring mallet and bench block | Stakes and heavier hammers fit larger forms |
| Check dimensions | Ruler or caliper; 10× loupe for close inspection | A scale or gauge is needed for a particular measurement |
| Join metal | Torch station only when soldering is part of the project | Larger torches and more fixtures fit larger assemblies |
| Finish surfaces | Progressive abrasives and a polishing cloth | A motor saves time on repeated finishing after dust control is planned |
The beginner hand-tool list starts with a pin, saw, files and abrasives. Its broader goldsmith inventory shows how much equipment a working bench can eventually hold; you do not need all of it for a first pendant or ring.
A bench pin supports thin metal on both sides of a saw cut and gives files a place to work close to your hands. Clamp it securely to a rigid desk or bench. Place a tray or apron below the pin to catch small parts and filings. Add a task light so the cut line is visible without leaning into the blade.
Use the desk you already have if its front edge stays still under light sawing and filing. If it moves, strengthen the support before adding more hand tools. Our bench setup guide covers seat height, lighting and metal recovery; the workbench guide compares dedicated stations.
A basic adjustable jeweler’s saw frame is useful for cutting outlines and piercing openings in sheet. Include spare blades and a small amount of blade lubricant. Blade size should match the metal thickness and cut detail; a frame alone is not a usable cutting setup. Support the sheet on the pin and keep your fingers out of the blade path.
Use the saw-frame guide to compare tensioning and throat depth. Add metal shears only if your projects include straight cuts or larger blank preparation. Use a wire cutter for wire, and check its stated material and gauge range before cutting hard wire. Xuron’s bench guidance also recommends controlling the offcut so it cannot fly away.
Start with one handled flat or half-round hand file, then add needle files when a recess or small curve needs one. A progression of abrasive paper or sanding sticks removes file marks before any final polish. Keep the abrasive sequence in order: skipping directly from a coarse file to a polishing cloth leaves scratches visible.
Files work best when the piece is held steadily. Add a ring clamp or small vise when gripping the work with your fingers becomes awkward. Keep file teeth clean and use handles on tang-style files. The metalsmithing tool overview places files and abrasives alongside the saw as core bench tools.
For wire loops and findings, start with chain-nose pliers for gripping, round-nose pliers for curves and a cutter suited to your wire. Smooth jaws matter when you do not want tool marks. A flat-nose pair becomes useful for broader bends and holding small parts. The pliers guide explains these jaw shapes and their different jobs.
For basic ring shaping, use a ring mandrel, a nonmarring mallet and a steel bench block on a supported surface. Keep the block away from a flexible desk edge. Add a more specialized hammer only when a project calls for texture or forming that the mallet cannot make. Large stakes, presses and rolling mills belong to later projects with enough space and mounting support.
A ruler handles layouts; a caliper helps compare sheet, wire and component dimensions. For close inspection, a 10× loupe can reveal burrs, rough joints and surface marks under good light. Choose the loupe and any scale or gauge around the measurements your work actually requires. Measure a ring size with a dedicated sizer when fit matters rather than relying on a ruler alone.
If your first projects are cold-connected or wire-formed, soldering can wait. When a soldered join is required, plan a heat-resistant surface, torch and fuel appropriate to the size of the work, solder, flux, tweezers or a pick, quenching and pickle handling, eye protection and ventilation. Keep combustible materials away from the station. Read the torch and chemical instructions before heating anything. The soldering setup guide explains why airflow and protective equipment are part of the setup.
Our torch guide compares flame sizes and fuel systems, while the soldering-kit guide shows how complete kits differ. Check which accessories are actually included before adding a second torch or duplicate tools.
Use files, then progressively finer abrasives, then a polishing cloth or suitable compound for the metal. A flex shaft can speed drilling, localized grinding and small finishing tasks, but it adds rotating-tool safety and dust control. A bench polisher makes more sense when repeated pieces justify its footprint and the work area can collect polishing dust. For equipment choices, see the flex-shaft kit guide and finishing hub.
Lean hand-tool setup: Put the budget into a rigid working edge, bench pin, saw and blades, file, abrasives, eye protection and task light. This supports small sheet-metal exercises without committing to heat or motors.
Wire and ring setup: Add the plier jaw shapes, wire-rated cutter, mandrel, nonmarring mallet and block that your design uses. A premade set is useful only if its contents cover those jobs.
Fabrication setup: Add soldering equipment after the workspace can support heat and ventilation. Add a flex shaft when drilling or localized finishing becomes frequent. Upgrade individual tools that limit your work before buying a larger all-purpose assortment.
Leave a rolling mill, bench polisher, ultrasonic cleaner and large specialized forming tools until a repeated task justifies each one. These machines solve different problems; none replaces accurate sawing, fitting and surface preparation. The bench tools hub and bench setup guide can help plan where each future tool would go.
For sheet-metal work, start with a stable bench edge and pin, a saw frame with suitable blades, a flat or half-round file, abrasive paper, and eye protection. Add pliers, a cutter and forming tools when your first project needs wire or ring shaping.
A kit can save time if its saw, files, pliers and workholding match your first project. Check the actual tool types and replaceable consumables; a smaller set of useful tools is easier to learn than a large assortment of unused pieces.
Only if the planned work requires soldered joins. Establish a heat-safe area, ventilation, eye protection and a way to handle hot work before adding a torch, solder, flux and pickle.
Hand filing and abrasive paper can teach surface preparation before a motor is needed. Add a flex shaft for repeated drilling, grinding or small-scale finishing; consider a bench polisher only when the work volume and dust-control setup justify it.
We have not personally used every product in this guide. Recommendations are based on specifications, manufacturer documentation, specialist references and owner experiences.
Full details: how we review and research tools and oureditorial policy.
How-to · Bench
Set up a jewelry bench at home with the right bench height, bench pin position, lighting, seating, tool layout, metal recovery, soldering zone and safety.
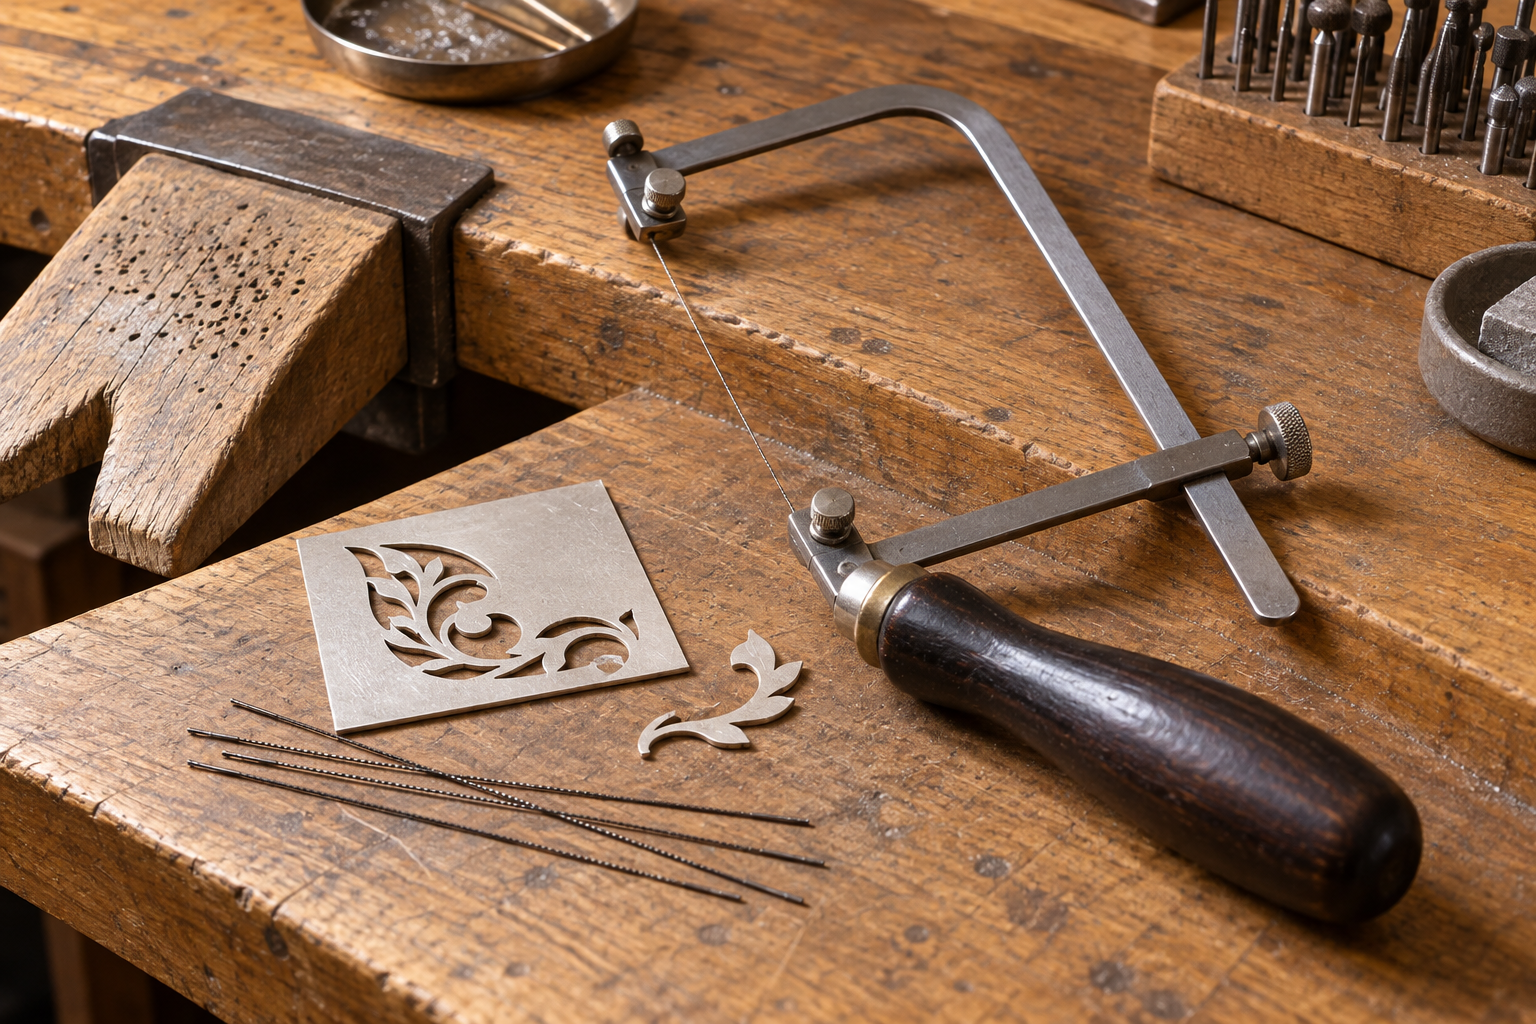
Buying guide · Cutting
Compare jeweler's saw frames by throat depth, blade tension, clamps and grip, from a simple adjustable starter frame to a cam-lever saw for repeated piercing.
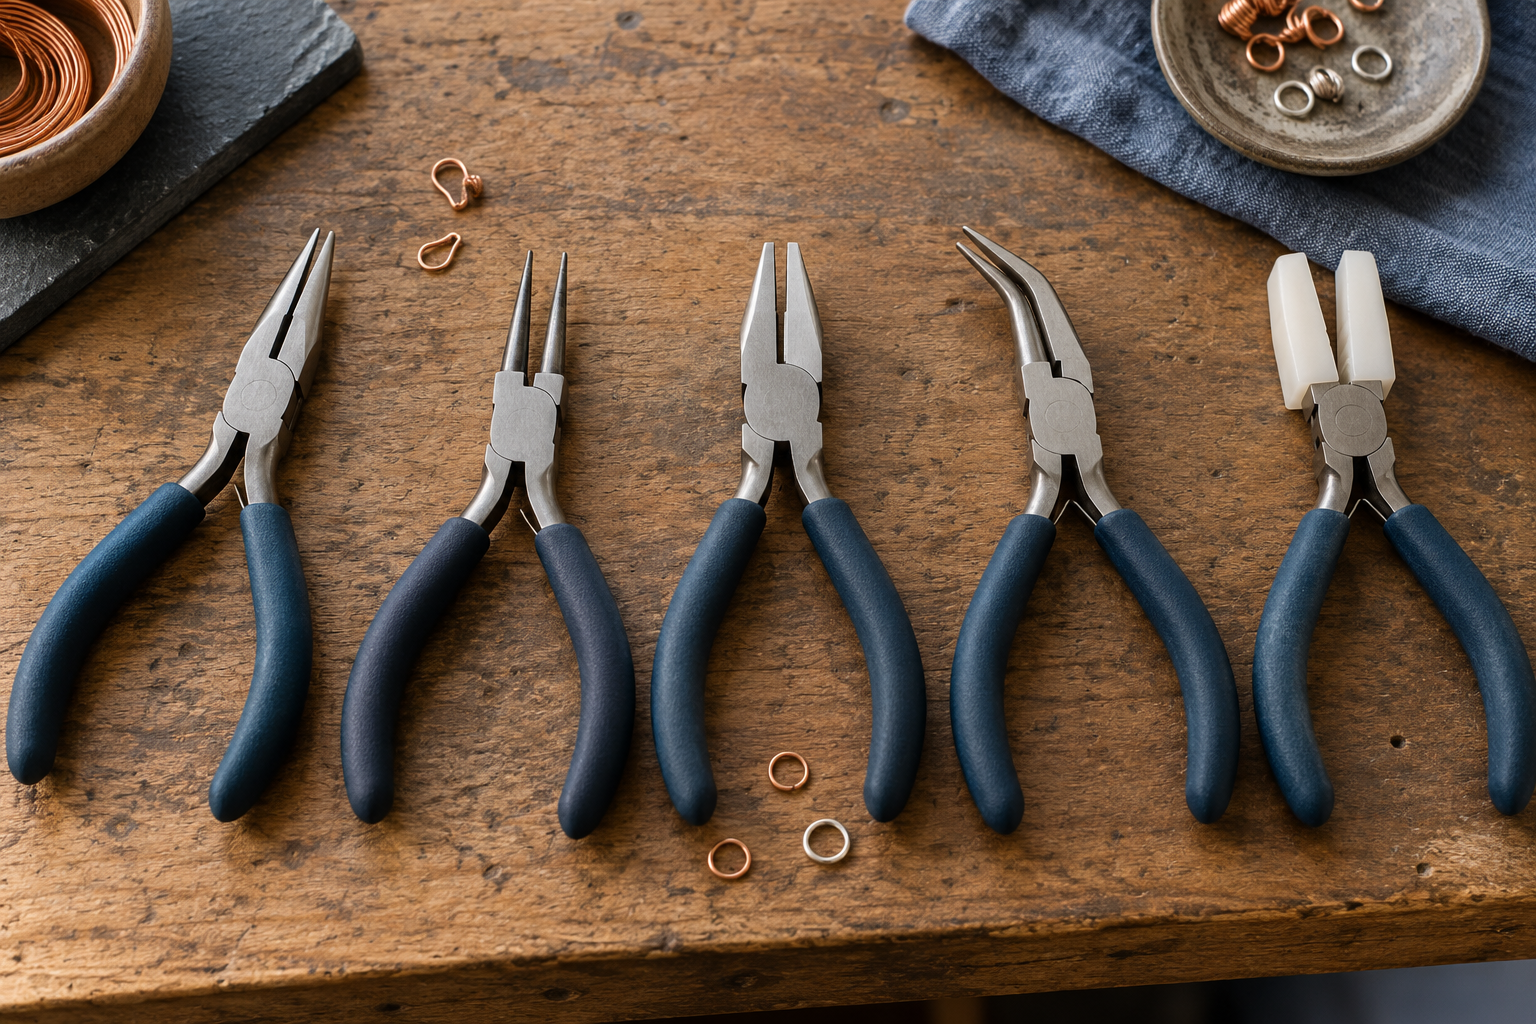
Buying guide · Bench
Choose jewelry making pliers by jaw shape, grip and surface, with practical picks for loops, jump rings, straight bends, tight work and delicate wire.
Buying guide · Soldering
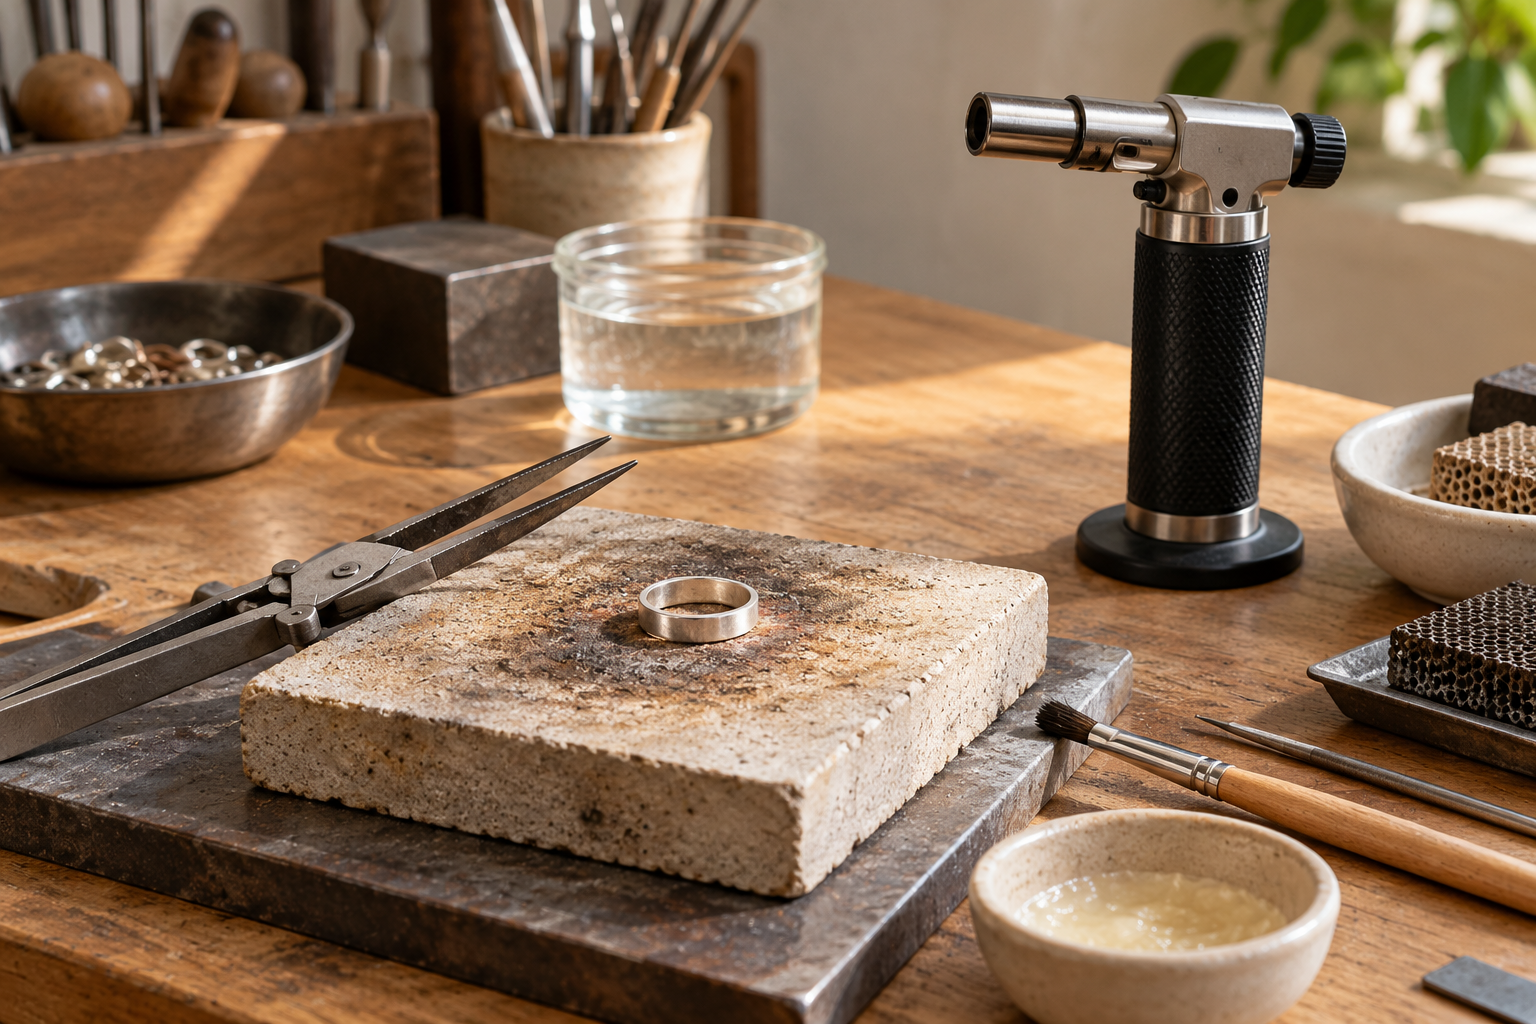
Choose a jewelry torch by workpiece size, flame shape and gas setup. Compare five researched tools for small repairs, bench soldering and broad heating.
Buying guide · Measuring
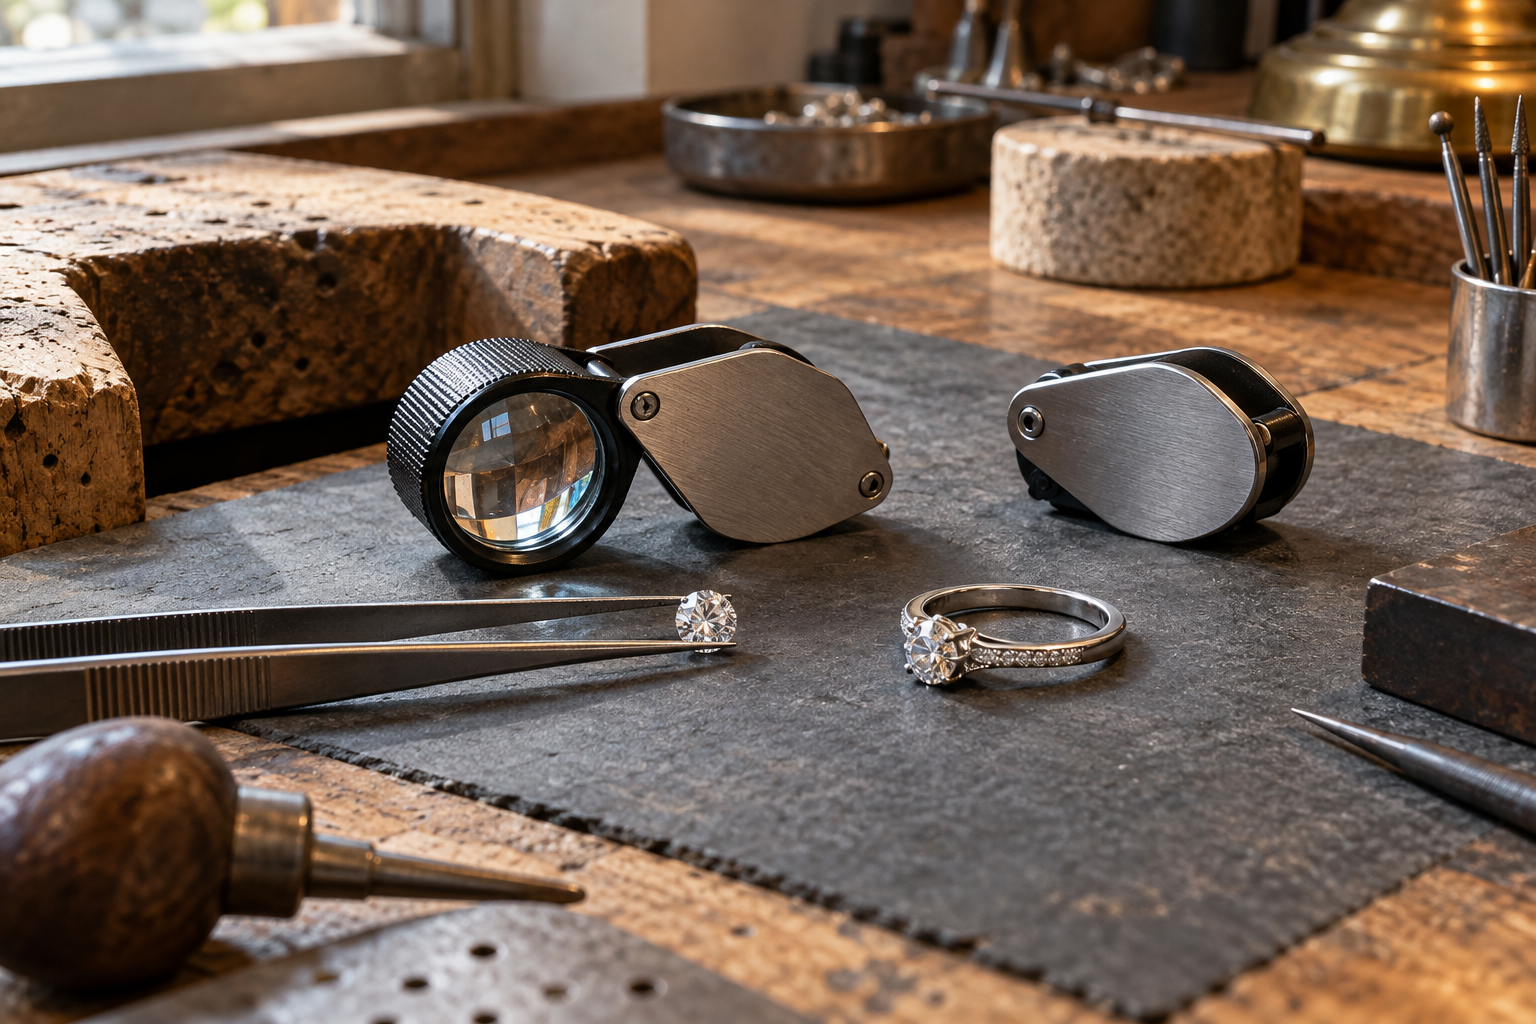
Choose a jeweler's loupe for gemstone inspection and bench work: five distinct 10x, lighted, measuring and eye loupe options, plus a practical 10x versus 20x guide.