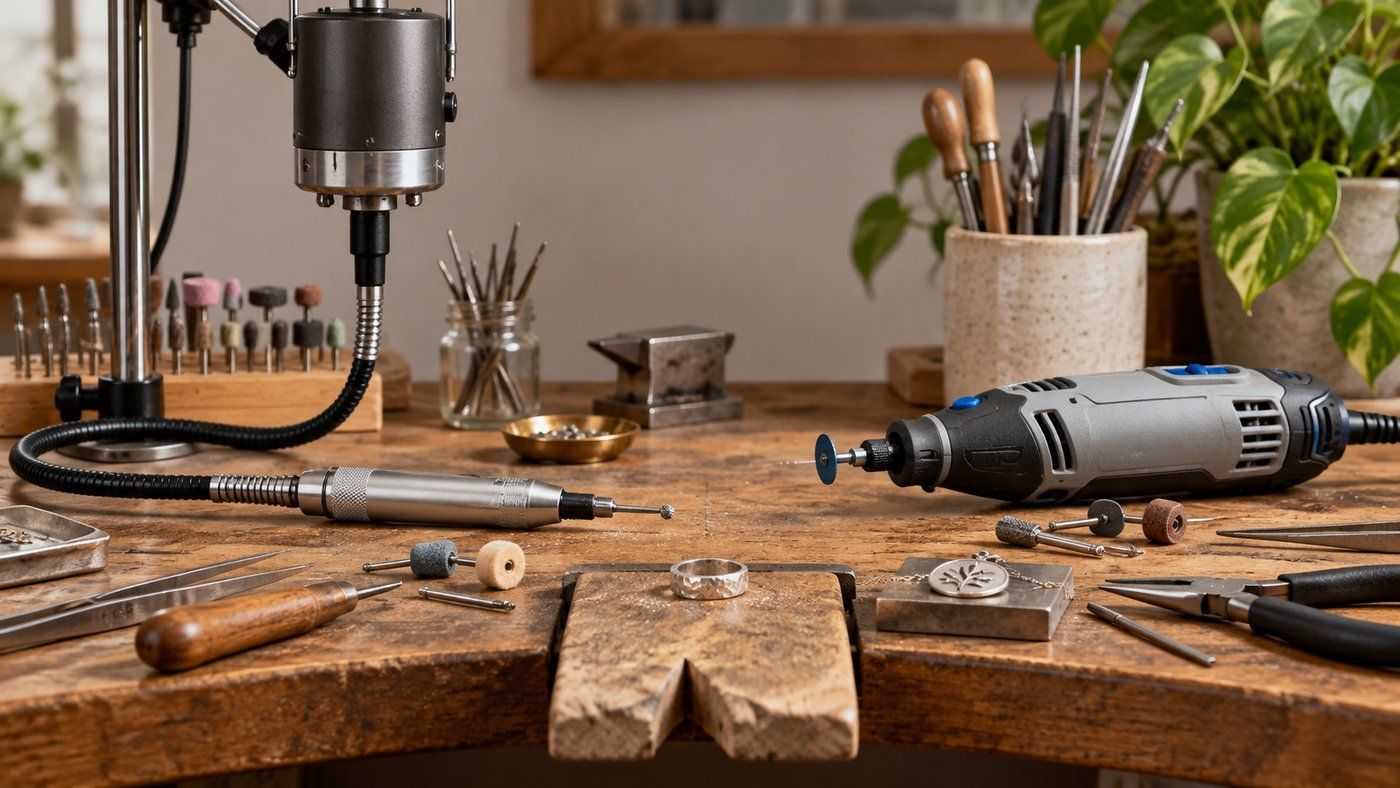
Comparison · Rotary Tools
Flex Shaft vs Dremel for Jewelry: Which Do You Need?
Flex shaft vs Dremel for jewelry making: compare control, hand comfort, speed, drilling, polishing, stone setting and cost to decide which rotary tool fits your bench.
Bench SetupHow-to
Set up a jewelry bench at home with the right bench height, bench pin position, lighting, seating, tool layout, metal recovery, soldering zone and safety.
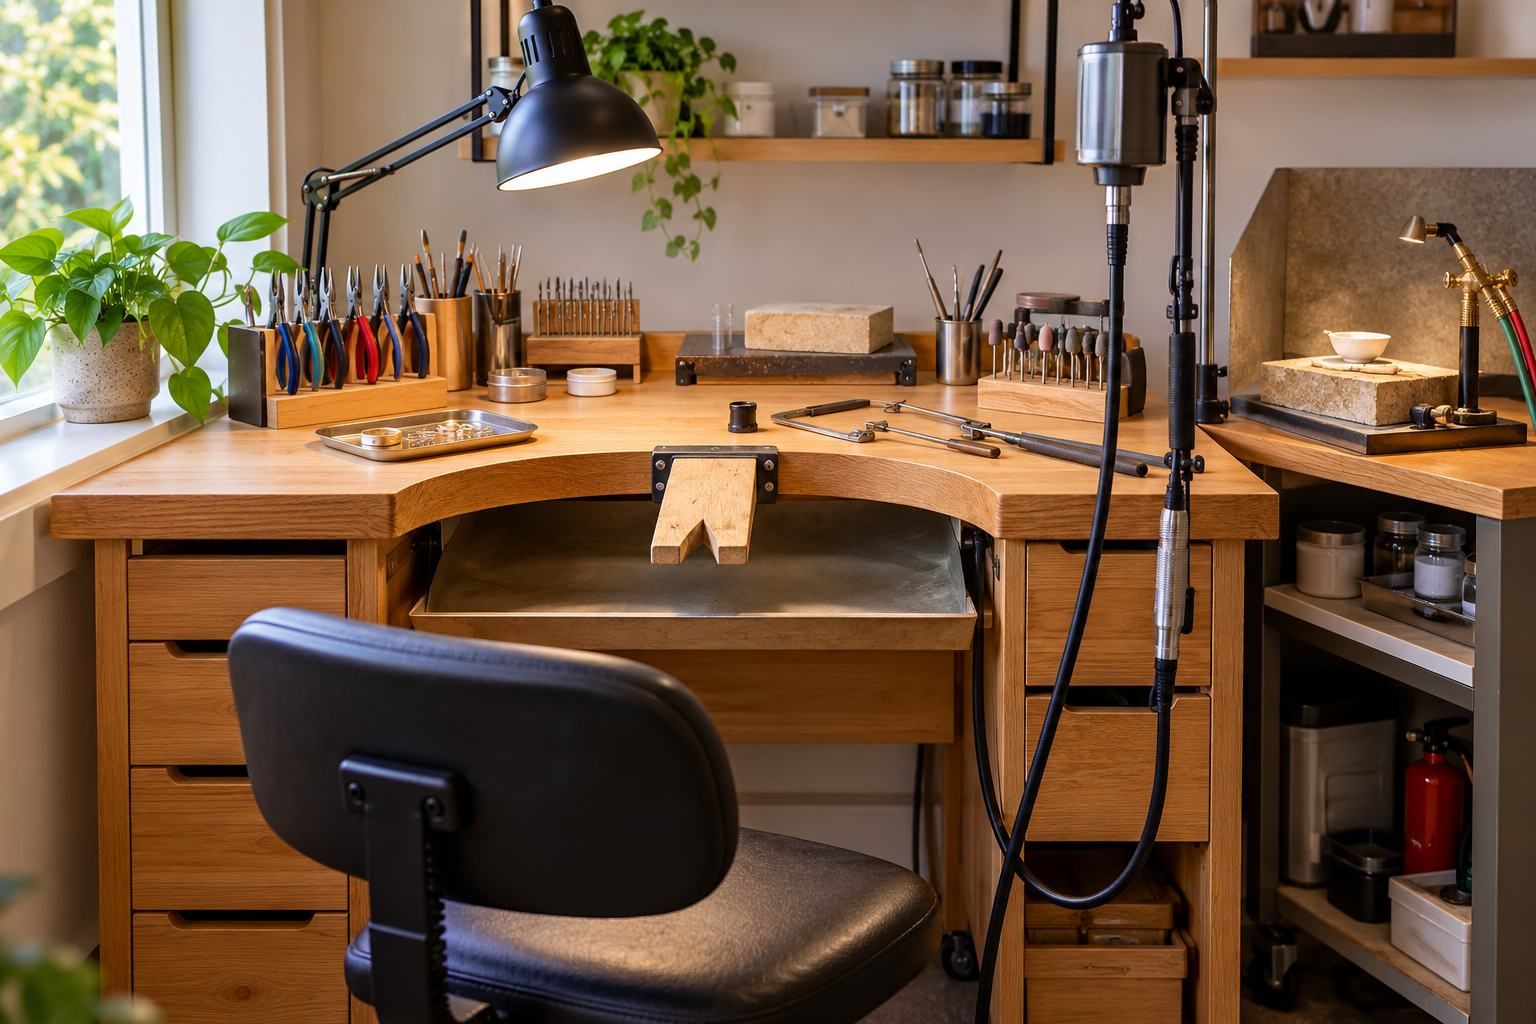
Your jewelry bench is more than a table for holding tools. It determines how comfortably you can saw, file and set, how easily you can find the tool you need, how much precious-metal scrap you recover and how safely you can add processes such as soldering and polishing later.
A good home jewelry bench does not need to be large or expensive. It does need to be stable, comfortable and deliberately arranged around the work you actually do.
If you are setting up your first home jewelry workshop, start with the bench pin and your seated working position. Build everything else outward from there.
Quick answer
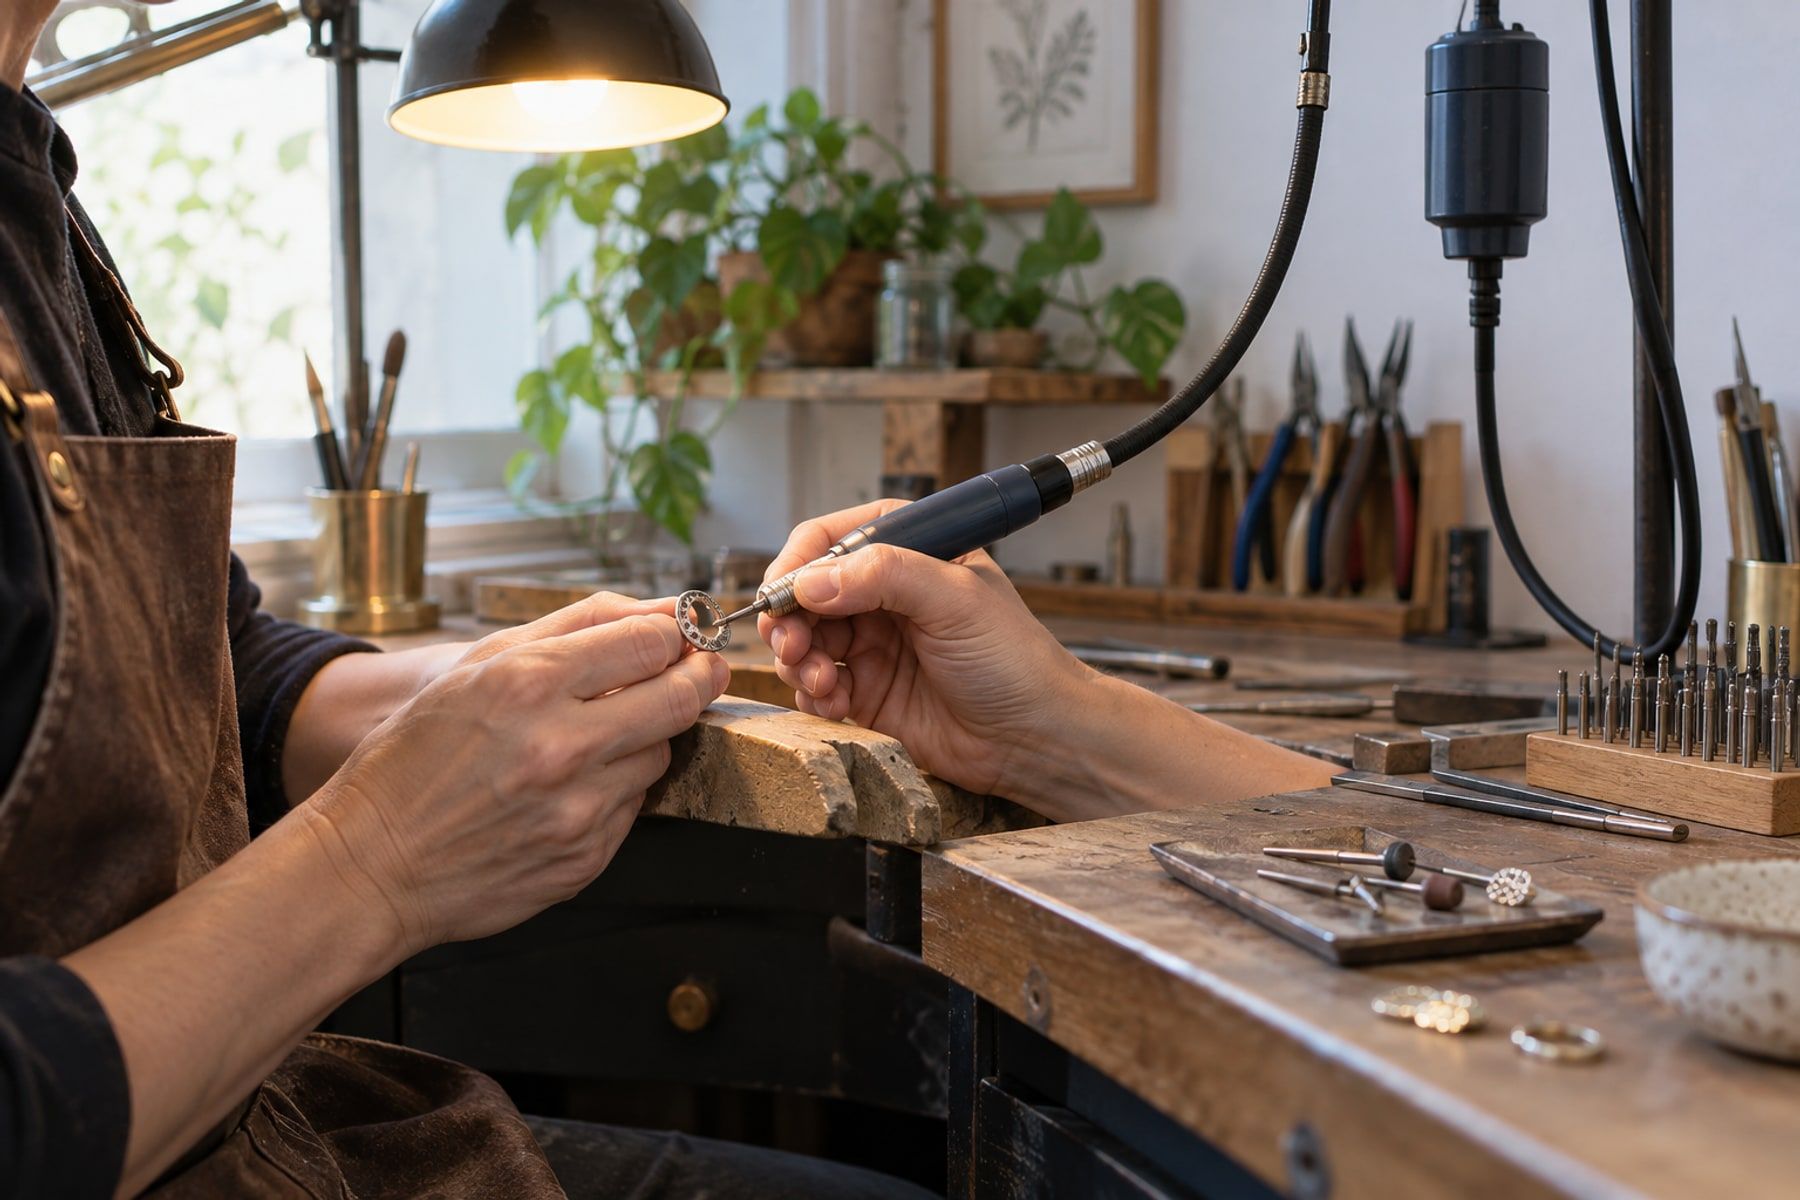
Start with a rigid workbench, mount a bench pin directly in front of your working position, and adjust your chair or work height until the pin is approximately around upper-chest or sternum height while you sit upright. Add bright adjustable task lighting and a catch tray or apron beneath the bench pin. Keep your most-used hand tools within easy reach, hang a flex shaft beside your dominant hand if you use one, and create separate areas for soldering, polishing, chemicals and other dirty or heat-producing processes.
A practical jewelry bench can be thought of as five different zones:
They do not all need to fit on one bench.
In fact, trying to make one small tabletop serve every process often creates a less efficient workshop. Your main bench should primarily support the precision work that happens around the bench pin.
| Activity | Best location | Why |
|---|---|---|
| Sawing and piercing | Bench pin | The pin supports the work while the area beneath it catches filings and small pieces. |
| Filing and detailed handwork | Bench pin | Keeps the work close to your eyes and supported by the bench. |
| Pliers and measuring | Within easy reach of the bench pin | These are frequently picked up and put down during fabrication. |
| Flex-shaft work | Beside your dominant hand | Reduces reaching and keeps the handpiece easy to return to its holder. |
| Soldering | Dedicated heat-resistant station | Keeps flame, heat and fumes away from general bench clutter. |
| Polishing | Separate dust-controlled area | Polishing compound and metal dust can otherwise spread across the precision-work area. |
| Tumbling | Separate stable surface | Keeps water, vibration and noise away from detailed bench work. |
| Rolling mill | Rigid stand or reinforced surface | A mill needs secure mounting and enough room to operate the handle. |
Before worrying about drawers, tool racks or accessories, check the basic structure.
A jewelry bench needs to resist the forces created when you saw, file, push against a bench pin or perform light forming work. If the bench flexes or rocks every time you apply pressure, controlling the work becomes harder.
A purpose-built jeweler’s bench is convenient because it normally combines a high work surface, central cut-out, bench-pin mounting point, storage and metal-recovery system.
But you do not need one to begin making jewelry.
A solid worktable, old wooden desk or heavy DIY bench can work well.
Look for:
A beautifully finished desk that moves every time you file is less useful than an inexpensive bench that stays completely still.
If necessary, stabilize a lightweight table before adding more tools.
The bench pin is the working center of a traditional jeweler’s bench.
It is the small wooden projection that supports a piece while you saw, pierce, file, drill or perform other detailed operations.
Mount it directly in front of your normal seated position rather than off to one side.
When you sit down, you should naturally face the pin without twisting your torso.
A loose bench pin makes precision work unnecessarily difficult.
Depending on the system you use, the pin may:
Whichever method you choose, eliminate unwanted movement.
A new bench pin is only a starting point.
As you work, you may cut grooves, flats, slots and supporting shapes into it for particular operations. A common V-shaped cut gives a saw blade somewhere to travel while leaving material on either side to support the piece.
Over time, the pin becomes customized to your way of working.
Searching for the exact “correct jeweler’s bench height” can be misleading because your body, chair and bench pin form one system.
Someone who is much taller or shorter than you should not necessarily use the same setup.
Instead of starting with a fixed measurement, sit at the bench and look at where the work actually lands.
When seated:
For many traditional bench arrangements, this puts the bench pin around the upper chest or sternum area.
The objective is not to force yourself into a textbook pose. It is to prevent the common situation where a low desk makes you fold your neck and upper back toward a tiny piece of jewelry for hours.
An adjustable chair gives you much more flexibility than a fixed dining chair.
Raise or lower the seat until you can work comfortably while maintaining secure foot support.
If raising the chair leaves your feet hanging, add a stable footrest rather than working unsupported.
Jewelry work involves tiny edges, saw lines, surface scratches, solder seams and small stones. Good lighting is therefore part of the working setup rather than a decorative extra.
Use general room lighting plus adjustable task lighting at the bench.
Position the task light so your own hands do not constantly cast a shadow over the point where you are working.
A movable lamp is especially useful because the ideal direction changes depending on whether you are sawing, checking a surface or inspecting a stone.
A single adjustable task light is enough to start.
If shadows regularly interfere with detailed work, lighting the bench from more than one direction can give more even illumination.
Avoid depending entirely on daylight from a window. Natural light can be excellent, but its direction and intensity change throughout the day.
If you work with silver, gold or other precious metals, the space under the bench pin is part of your material-recovery system.
Sawing and filing produce tiny pieces that are easy to lose individually but accumulate over time.
Purpose-built benches commonly use a deep catch tray or sweeps drawer beneath the working area. Another option is a leather or fabric apron-style catch system.
Both have two jobs:
Try not to treat the catch tray as another general storage drawer. The easier it is to collect and separate useful material, the more likely you are to maintain the habit.
If you regularly work with different precious metals, separate containers for collected scrap can make later recycling easier.
Likewise, avoid sweeping ordinary workshop rubbish into your precious-metal collection.
The best jewelry bench organization system is not necessarily the one with the most drawers.
It is the one that minimizes unnecessary movement.
Sit at your bench pin and extend your arms naturally. That immediate area is your most valuable storage space.
Reserve it for tools you repeatedly use during normal work.
For many jewelers, that might include:
Tools that come out once a month do not need to occupy the same space.
Jewelry tools and components are often small.
Deep drawers easily become containers full of tools stacked on top of one another. Shallow drawers, racks and divided trays make it easier to see what you have without digging.
Vertical storage can also be useful for:
The goal is to keep the working surface itself relatively clear.
A right-handed and left-handed jeweler may arrange the same tools differently.
Start with the hand that performs the most precise work.
If you are right-handed, for example, you may prefer frequently used tools and the flex-shaft handpiece toward your right. A left-handed jeweler may find the reverse more natural.
Do not follow a photograph of someone else’s studio exactly.
Instead, sit at the bench and repeatedly simulate these movements:
Anything that repeatedly requires twisting, stretching or reaching across the work deserves a better position.
A flex shaft is often one of the first powered tools added to a jewelry bench.
The motor normally hangs above or beside the working area while the flexible shaft leads to the handpiece.
Position the hanger so that:
Keep the speed-control pedal where you can operate it without sitting unevenly or stretching one leg forward all day.
If you are deciding between a flex shaft and a smaller rotary tool, see flex shaft vs Dremel.
Do not assume the center of your woodworking bench is automatically the best place for a torch.
A soldering area introduces heat, flame, flux and airborne contaminants, so it deserves its own layout.
At minimum, the station should have:
Separating the stations has practical benefits as well as safety benefits.
The bench-pin area tends to accumulate wooden tools, paper, cloth, containers and many other small objects. A dedicated soldering surface is easier to keep uncluttered and heat resistant.
It also prevents every activity in your workshop from competing for the same square foot of space.
Motorized polishing is different from using a small rotary tool for occasional finishing.
A polishing motor or buffing wheel can distribute metal particles and polishing compound beyond the immediate machine.
If you add a dedicated polishing setup, treat it as a separate dirty-work station rather than placing it directly beside the bench pin without considering dust control.
Eye protection and appropriate dust control are also important around rotating equipment.
And remember the mechanical hazard: loose hair, clothing, jewelry and other items can become caught by rotating machinery.
Not every jewelry tool belongs on the main bench.
A rolling mill, vise or other tool that requires significant force should be mounted where that force can be transferred into a rigid support.
A rolling mill in particular needs:
Trying to squeeze it into the middle of the precision bench usually wastes valuable working space.
If a rolling mill is one of your next purchases, see our guide to rolling mills.
A home jewelry workshop can gradually accumulate:
Plan where powered equipment will live before filling every surface.
Keep cords away from places where they can be cut, heated, tripped over or tangled with moving equipment.
Avoid routing electrical cables through the immediate soldering area or allowing cords to hang where your feet repeatedly catch them.
For fixed high-load equipment or substantial workshop electrical changes, use appropriately rated circuits and qualified electrical help where required.
This matters particularly if your jewelry bench is in an apartment, spare bedroom or shared home.
Hammering, tumblers, polishing equipment and some rotary processes can transmit vibration through furniture and floors.
You can reduce problems by:
A tiny bench does not have to perform every workshop operation.
Sometimes the best layout decision is moving one process somewhere else.
You can build a useful jewelry workspace even if you do not have room for a permanent studio.
Prioritize the operations that actually need to remain ready for use.
For most beginners, that means keeping the bench pin, lighting and core hand tools permanently available.
Equipment used occasionally can be stored elsewhere.
Vertical space becomes especially valuable in a small workshop.
A wall above and beside the bench can hold tools that would otherwise consume the entire work surface.
However, keep heavy objects securely mounted and avoid placing items where they can fall directly onto you or the work.
Before considering your home jewelry bench finished, sit at it and work through this list.
| Check | What you want | Why it matters |
|---|---|---|
| Bench | Rigid and stable | Movement makes sawing, filing and other precision work harder. |
| Bench pin | Secure and directly in front of you | This is the center of most detailed bench work. |
| Working height | Work comes toward your eyes without prolonged hunching | The bench should fit the worker rather than forcing the worker to fit the bench. |
| Chair | Adjustable with secure foot support | Allows the bench, pin and body to be aligned comfortably. |
| Lighting | General light plus adjustable task light | Small defects and edges are easier to inspect. |
| Metal recovery | Tray, drawer or catch apron below the pin | Collects filings, scrap and dropped components. |
| Hand tools | Most-used tools within comfortable reach | Reduces unnecessary reaching and searching. |
| Flex shaft | Handpiece and control positioned naturally | Reduces twisting and keeps rotary work convenient. |
| Soldering | Separate heat-resistant ventilated station | Controls heat, flame and process contaminants. |
| Polishing | Separate dust-controlled area | Keeps polishing residue away from precision work. |
| Heavy tools | Securely mounted away from the main work zone | Preserves bench space and provides adequate support. |
A normal desk can work, but placing the bench pin at ordinary keyboard height may encourage you to bend down toward the work.
Raise the working position rather than accepting poor posture as part of jewelry making.
More drawers do not automatically create a better workshop.
First determine which tools you use together. Then put storage where those tools naturally need to be.
A large empty bench can quickly become a storage shelf.
Protect the central working area around the bench pin. Put long-term storage somewhere else.
A rolling mill, tumbler, polishing motor and soldering station do not need to surround you while you are sawing.
Separate activities according to their requirements.
Different jewelry processes create different fumes, vapors and dusts.
Where local extraction is required, contaminants should be captured close to their source rather than allowed to travel through your breathing zone and eventually out of a room.
A professional jeweler’s studio can be excellent inspiration, but their body, dominant hand, processes, equipment and available space may be completely different from yours.
The best jewelry bench is ultimately one adjusted around your own work.
You do not need to build a complete professional studio on day one.
Start in this order:
That sequence keeps the focus on the workspace you will use every time you make something rather than filling the room with equipment before the basic bench works properly.
Once your basic bench is comfortable and organized, a rotary tool is one of the most useful upgrades because it supports drilling, sanding, grinding, texturing and finishing.
Start with our comparison of flex shafts vs Dremels for jewelry making.
For metal-forming equipment, see our rolling mill guide.
And if you are moving into finishing equipment, our magnetic vs rotary tumbler comparison explains where each type fits in a small jewelry workshop.
There is no single ideal height for everyone. Set the bench and chair so the bench pin sits roughly around upper-chest or sternum height while you are seated upright. The aim is to bring the jewelry toward your eyes rather than bending your neck and back toward the work.
Yes. A rigid desk or worktable can work for a beginner if you add a securely mounted bench pin and a tray, apron or other system for catching filings. A standard desk is usually lower than a traditional jeweler's bench, so you may need to raise the work surface or bench pin to achieve a comfortable working position.
At minimum, you need a rigid work surface, a secure bench pin, suitable seating, strong task lighting and a way to catch filings and small parts. Add tool storage, a flex shaft, soldering station and other equipment as your work requires them.
Use a dedicated heat-resistant soldering area away from paper, solvents, polishing dust and other flammable materials. Soldering processes may require local exhaust ventilation that captures contaminants near the source rather than relying only on general room ventilation.
Position it on the side that lets your dominant hand pick up and return the handpiece naturally without reaching across your work. The exact position matters less than keeping the handpiece, speed control and commonly used burs within comfortable reach.
Keep the center around the bench pin clear and place frequently used tools within easy reach. Use shallow drawers, vertical storage, wall-mounted tool holders and under-bench storage instead of filling the work surface. Move occasional tasks such as soldering, polishing and tumbling to separate stations when possible.
No. A purpose-built bench is useful because it combines the correct working position, a bench-pin mounting point, metal recovery and storage, but beginners can build an effective setup around a sturdy table. Stability and working position matter more than having a traditional-looking bench.
Comparison · Rotary Tools
Flex shaft vs Dremel for jewelry making: compare control, hand comfort, speed, drilling, polishing, stone setting and cost to decide which rotary tool fits your bench.
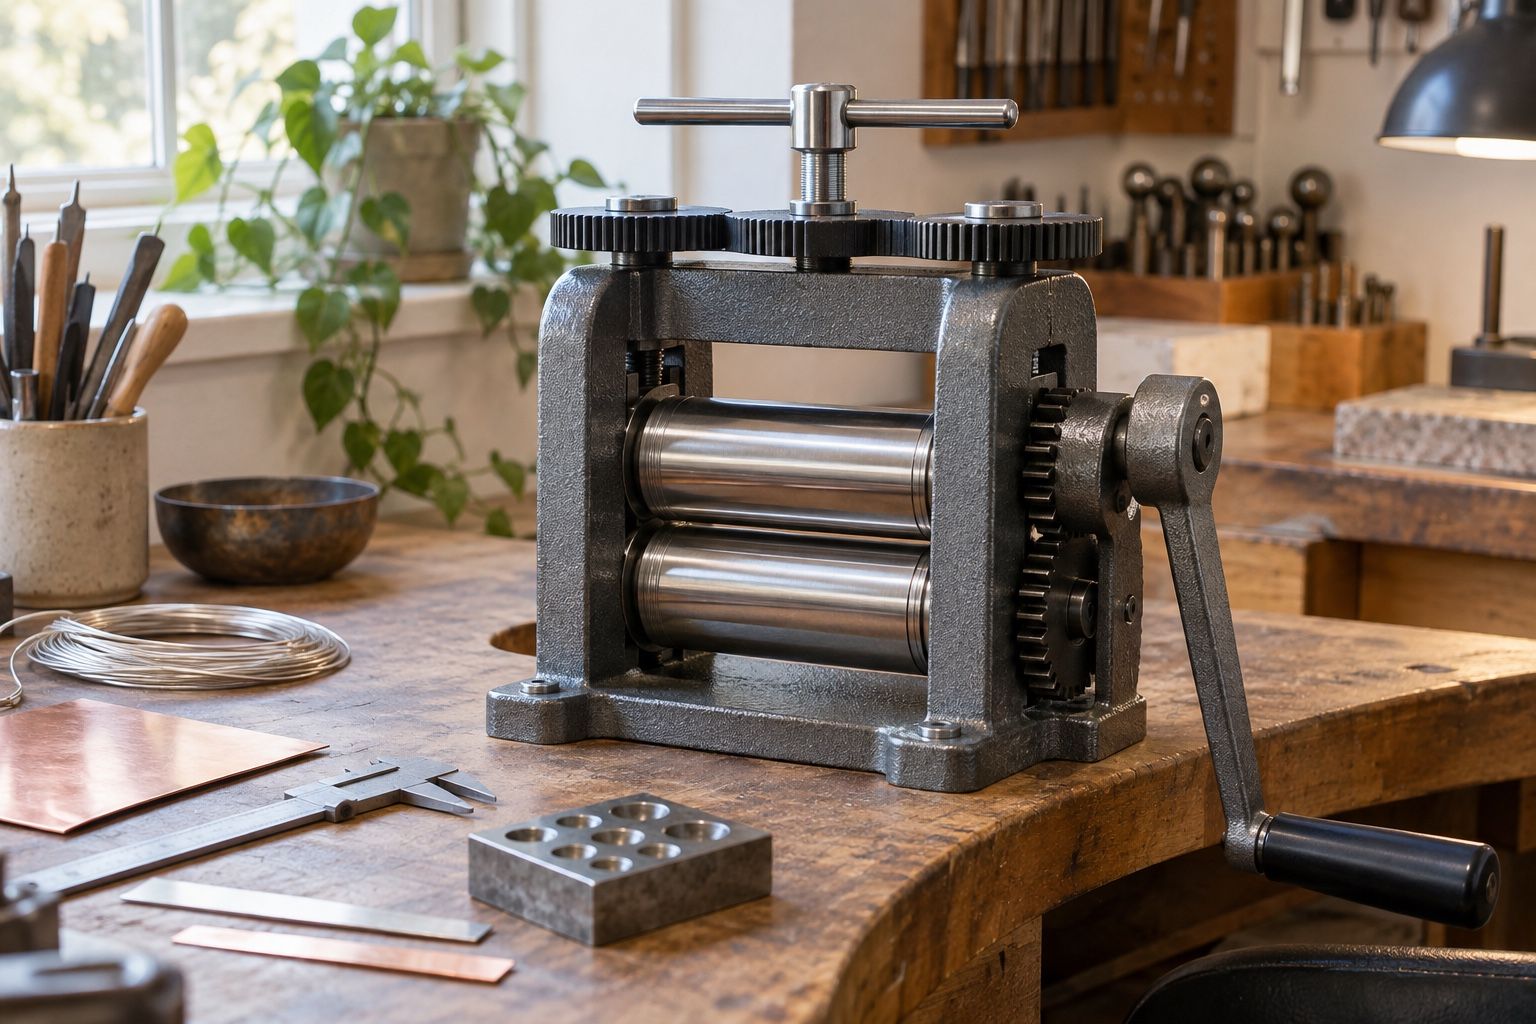
Buying guide · Rolling & Forming
Choose the right jewelry rolling mill by roller width, configuration, gearing and bench space, with a research-based look at budget and professional options.
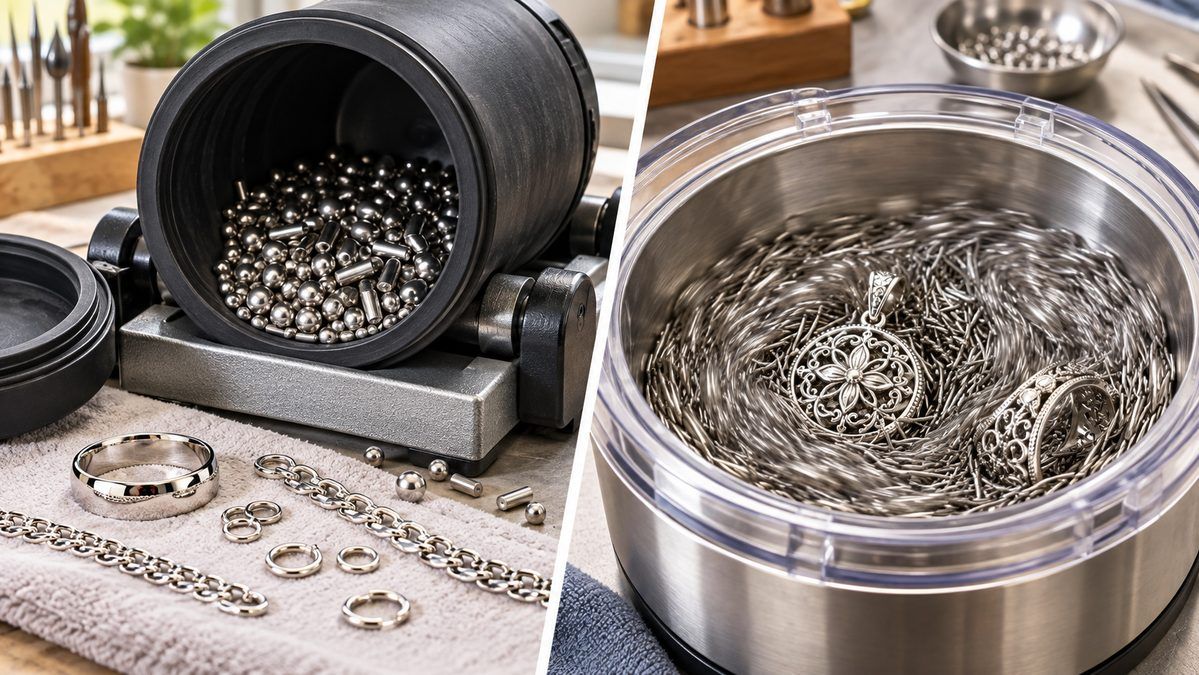
Comparison · Polishing
Compare magnetic and rotary jewelry tumblers for burnishing, steel-shot finishing, detailed castings, chain and small-batch jewelry work.
Buying guide · Rotary Tools
Compare five verified flex-shaft configurations for jewelry making, from budget starter kits to serviceable Foredom and Grobet bench systems.